
Start here
Your first ColorStacking print
Saw a relic you want to make? Start with a free design and its supplied profile. This guide walks through the Bambu Studio workflow, from opening the project to checking the finished print.
By Unicorn Graveyard · Updated
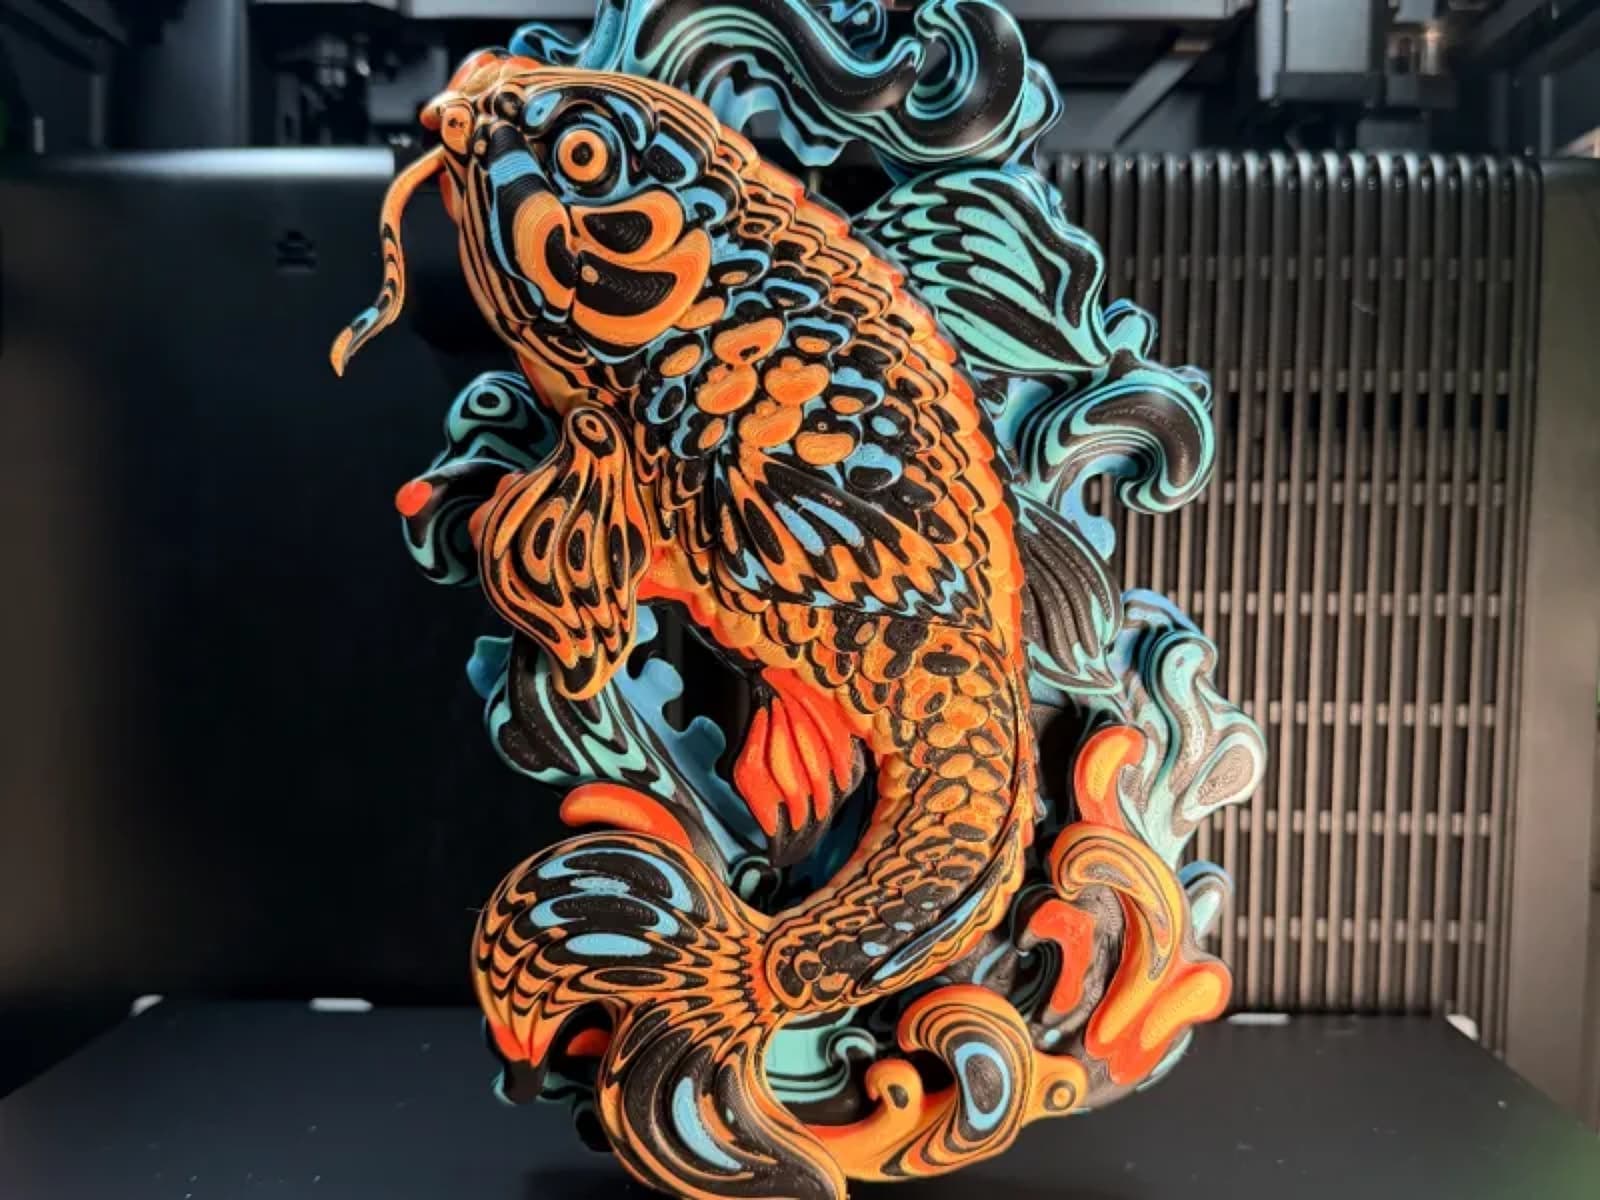
The example project
Psychedelic Koi
Flowing fins, carved scales, and color made in filament. Open the model page for its current download and access details.
View the model →What you need
- An FDM printer and a profile that fits its build area and nozzle.
- Bambu Studio for this workflow, plus the model's downloadable project where supplied.
- The filament types and colors required by the chosen profile. Matte PLA is a useful starting point for the ColorStacked look.
- A compatible multicolor system when the profile changes colors within layers.
If you do not own a printer yet, inspect a few model profiles before choosing hardware. Build size and the kind of color changes matter more than matching the machine shown in a photo.
1. Choose the model and read its profile
Start with a design you want to display. The Psychedelic Koi is our worked example: a free ColorStacked wall-art design on MakerWorld. Open its model page, follow Download on MakerWorld, and read the profile notes. Check the stated printer, nozzle, dimensions, and any assembly or support instructions before downloading.
2. Open the supplied project
If the download includes a Bambu Studio project, open the 3MF as a project so its settings and color assignments are available. Importing only the geometry or opening a bare STL will not give you the same prepared setup. Keep a copy of the original project before making changes.
3. Match the setup to your printer
Confirm your actual printer, nozzle, build plate, and filament profiles. Check that the model fits the printable area. Keep the supplied size and orientation for the first attempt where they fit your machine; scaling or rotating can change how details, supports, and color bands print.
4. Map the colors you loaded
Follow the project's initial color arrangement and match each project filament to a loaded spool. The filament list in a project is not proof that the printer has those colors loaded. Start with contrasting colors so you can see which raised and recessed details each filament reveals.
5. Slice and inspect before printing
Slice the plate for your selected printer and move through the layer preview. Look at the first layer, supported regions, and color changes. Read the estimated time and filament usage, including purge material. Resolve warnings before sending the job. The preview, not a generic time quoted on a website, describes the project you are about to print.
6. Print, cool, and compare
Send the job after confirming the final filament mapping. Check that the first layer adheres as expected. Let the build plate and print cool before removal, follow the profile's support-removal instructions, and compare your result with the model photos. Save the project with the palette and settings that worked before trying another colorway.
Settings: start with the model
The studio's general ColorStacking starting points are a 0.4 mm nozzle, 0.16 mm layers, PLA, and light infill for decorative pieces. These are not verified settings for every file or machine. The selected model's profile takes precedence, especially for supports, orientation, and color assignments. Keep that baseline for your first print.
Understand how ColorStacking works →If something looks wrong
| What you see | What to check |
|---|---|
| The model has lost its colors | Check that you opened the prepared project rather than importing only its geometry. Review the project's filament assignments. |
| The preview is too large for the bed | Check the printer selection and model dimensions. Use an appropriate profile before experimenting with scaling. |
| The time or purge estimate is much higher than expected | Look for color changes within each layer and confirm the nozzle/profile. A painted variant may behave differently from a whole-layer ColorStack. |
| The details disappear into the color | Compare your light and dark filament choices with the original palette. Try stronger contrast before changing the geometry. |
Can I do this without AMS?
Sometimes. A profile that changes filament only at whole-layer boundaries may suit manual swaps if your printer supports them. A profile with several colors in the same layer is a different task. Do not assume that every prepared multicolor project can be printed unchanged with manual swaps.
What comes after the first print?
Save your successful setup, try a second palette, and share your result in the Ossuary. Browse another free model or compare Patreon model-access tiers for the vault. Personal access does not include permission to sell prints; that requires an active commercial tier.
For software-specific file behavior, see Bambu Lab's 3MF compatibility documentation.